
How to create custom metrics in PowerMetrics

 Emily HaywardPublished 2026-06-15
Summary: Learn five ways to create custom metrics in PowerMetrics — using data feeds from SaaS apps or REST APIs, SQL databases, spreadsheets, data warehouses like Snowflake and BigQuery, or semantic layers like dbt and Cube. Connect your data, configure your metric, and build a trusted Metric Catalog your team can rely on.
Metrics are at the heart of PowerMetrics. The platform lets you connect your data, define what matters, and share insights your team can trust to make better business decisions.
PowerMetrics offers multiple ways to create a metric: Instant Data Feed Metrics, Custom Metrics (which include Custom Data Feed Metrics, Data Warehouse Metrics, and Semantic Layer Metrics), and Calculated Metrics.
This guide covers the five ways to create custom metrics in PowerMetrics. For pre-built options, see the resources on instant metrics and calculated metrics.
What is a metric?
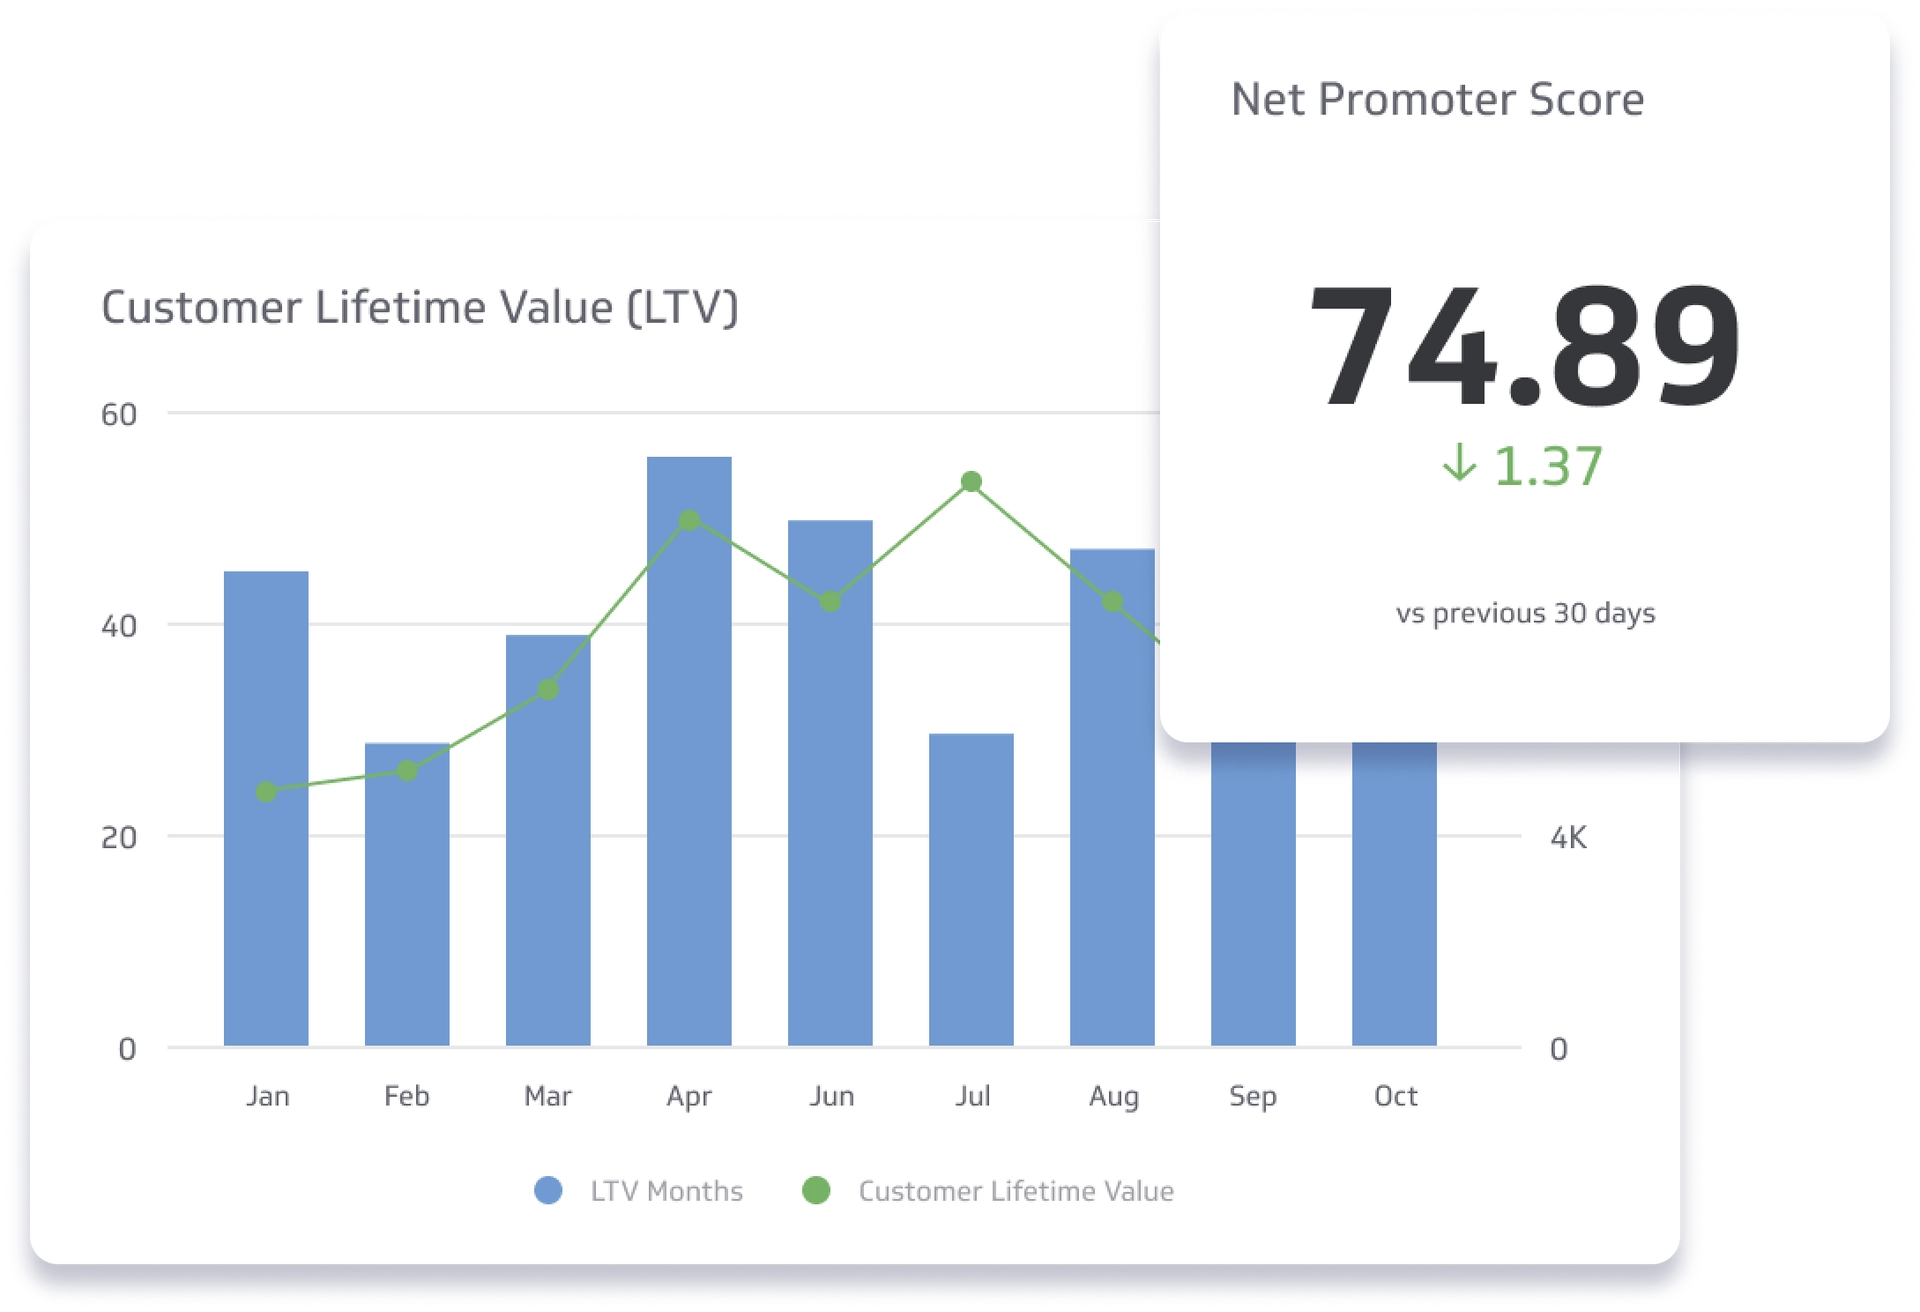
A metric is a measurable value that tracks performance, success, or progress toward a specific goal. Metrics store historical values over time and can be visualized in multiple ways.
For example, say you want to track Monthly Recurring Revenue — how it changes month over month and which segment drives the most new subscriptions. You would pull your MRR data from its source, model it into a data feed with the dimensions you need, and create a metric using a calculation. The result is a quantifiable, trackable metric you can monitor and share.
Metrics make it easy to analyze data at a glance, rather than sifting through spreadsheets and doing mental math.
What is a custom metric?
A custom metric is a metric built using your own data. PowerMetrics supports five source types for creating custom metrics, each suited to a different data environment.
Here is a quick comparison before diving into each one:
| Source type | Creation method | Best for |
|---|---|---|
| SaaS apps and APIs | Data feed + Query Builder or REST API | Marketing, sales, and finance apps |
| Databases | SQL query data feed | Operational and application data |
| Spreadsheets | File upload or sheet connection | Manual reporting and planning |
| Data warehouses | Direct-to-warehouse metrics | Scalable analytics and BI |
| Semantic layers | Import from dbt or Cube | Governed, trusted metrics |
1. Custom metrics using data feeds (SaaS apps and APIs)
This approach works best for SaaS applications such as Google Analytics 4, HubSpot, Salesforce, Shopify, Stripe, and Zendesk, as well as any service accessible via a REST API.
How it works:
- Click + Metrics and select See all services.
- Choose a service connector (for example, HubSpot, GA4, or Salesforce) or the REST/URL connector.
- Create a data feed using the built-in Query Builder to select dimensions, metrics, and filters — or build a custom REST API query.
- Optionally refine the data in the Data Feed Editor.
- Configure the metric: name, aggregation type, date dimension, and segments.
- Save the metric to your Metric Catalog.
Typical use cases:
- Marketing KPIs from Google Analytics 4
- CRM metrics from HubSpot or Salesforce
- Subscription metrics from Stripe
- Custom API integrations via REST
Query Builder
Query Builder is a powerful tool for selecting and connecting tables and fields from supported data services. For example, you can connect your Google Analytics 4 account, select the Acquisitions table, and choose columns like New Users, Sessions, and Session Medium. You can preview the result, add a date column to give your data a time dimension, and apply optional filters if the API supports them.
!Query Builder
2. Custom metrics using databases
Database metrics work best for MySQL, PostgreSQL, SQL Server, Oracle, and similar relational databases. Unlike data warehouse metrics, database metrics are created through a SQL data feed first, which then powers one or more custom metrics.
How it works:
- In the left navigation sidebar, click the + button beside Data Feeds.
- Click Select data.
- Under Core Services, choose SQL Query.
- Configure the database connection: host, port, database, driver, username, password, and SQL query.
- Optionally configure an SSH tunnel if the database is behind a firewall.
- Click Get data and validate the returned dataset.
- Continue to the Data Feed Editor to refine the data if needed.
- Save the data feed.
- Open the saved data feed and click + Add metric to create one or more custom metrics from the dataset.
Typical use cases:
- Product analytics
- Operational reporting
- Customer activity metrics
- Internal application KPIs


3. Custom metrics from spreadsheets
Spreadsheet-based metrics are ideal for Excel files, CSVs, Google Sheets, and any manually maintained business data.
How it works:
- Select File Upload or connect to an online spreadsheet source.
- Upload an Excel, CSV, XML, or JSON file — or connect to a live sheet.
- Create a data feed from the spreadsheet data.
- Use the Data Feed Editor to clean or reshape the data if needed.
- Create a custom metric from the feed by selecting the value and date columns.
- Save the metric.
Typical use cases:
- Budget tracking
- Forecasts and plans
- Manual KPI reporting
- Data exports from systems without APIs
What is a data feed?
A data feed is a clean, prepared channel between your data source and the custom metric you create. When you model your data in a data feed, you define and manipulate what to include — applying formulas, data formats (text, number, percentage, currency, date, or duration), and filters. One data feed can power multiple metrics; there is no limit to how many times you can reuse your data.
A few tips for working in the Data Feed Editor:
- Don't over-prepare your data. Leave room for the flexibility and customization available inside PowerMetrics.
- Use the unpivot function to convert pivot table formats into list table formats.
- Use formulas to group data into categories and simplify your metric.
- Group related columns — such as first name and last name — into combined dimensions for clarity.
4. Custom metrics from data warehouses
Data warehouse metrics connect PowerMetrics directly to platforms like Snowflake, Google BigQuery, Databricks, and Amazon Redshift. No data feed is required — the metric queries the warehouse directly.
How it works:
- In the left navigation sidebar, click the + button beside Metrics and select See all services.
- Choose your data warehouse platform (for example, Snowflake or BigQuery).
- Connect PowerMetrics to the warehouse.
- Browse available tables, views, measures, and dimensions.
- Configure the metric: value/measure, date dimension, segments, and aggregation behaviour.
- Save the metric directly to the Metric Catalog.
Typical use cases:
- Scalable analytics across large datasets
- BI reporting directly from a centralized warehouse
- Cross-functional metrics that span multiple data sources
5. Custom metrics from semantic layers
Semantic layer metrics connect PowerMetrics to governed metric definitions that already exist in a Semantic Layer project — such as dbt Semantic Layer or Cube. Rather than creating new calculations from raw data, PowerMetrics exposes and consumes business definitions your team has already defined and certified.
How it works:
- In the left navigation sidebar, click the + button beside Metrics and select See all services.
- Choose dbt Semantic Layer or Cube.
- Connect to the semantic layer.
- Browse existing governed metric definitions, measures, and dimensions.
- Select the metrics you want to expose in PowerMetrics.
- Configure metadata, descriptions, certifications, and permissions as needed.
- Save the metrics to the Metric Catalog.
Typical use cases:
- Importing governed, certified metrics from a dbt project
- Connecting to a Cube semantic layer for consistent business definitions
- Maintaining a single source of truth across tools and teams
Configuring your custom metric
Once your data source is connected — whether through a data feed, warehouse, or semantic layer — the metric configuration steps are consistent across all types.
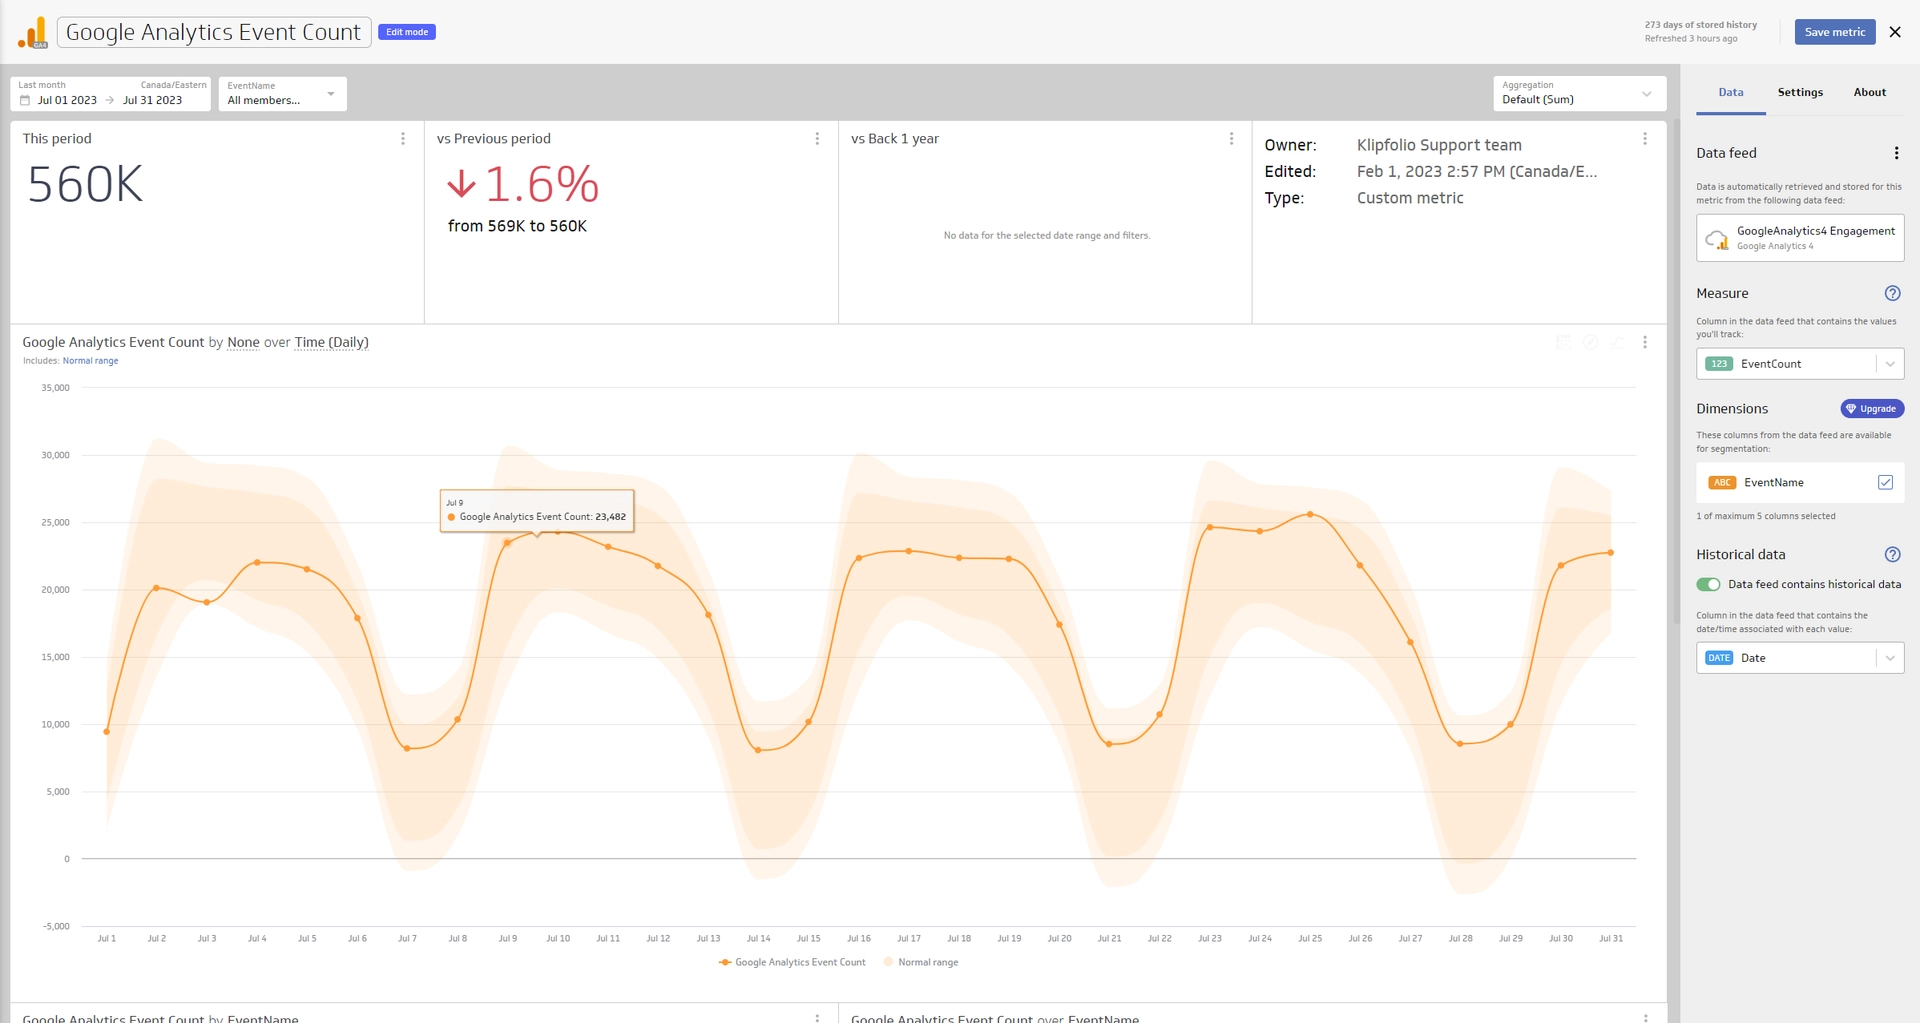
Here is what you configure:
- Date and time settings: Select the column from your data source that contains the date or timestamp associated with each metric value.
- Date handling settings: Choose whether to use all values in your data source or only the latest values in a given period.
- Display settings: Name your metric, choose a data format (numeric, currency, percentage, or duration), and optionally set a favourable trend direction.
- Segments: Select the dimensions you want to use to slice and filter the metric.
Data history and storage
PowerMetrics stores up to 10 years of data. That history is what makes it possible to compare metrics across time periods and spot meaningful trends.
Once you configure a metric, PowerMetrics pulls in new data automatically — no manual updates required. If your data feed does not include historical data, PowerMetrics begins recording it from the moment you create the metric.
Backfill is available for custom metrics, though it requires pulling historical data from your original source. Instant metrics have backfill enabled automatically.
Build a metrics system that scales
Think of metrics like building blocks. For metrics to work together — to compare time periods or dimensions — they need a consistent foundation. A standardized Metric Catalog gives your team a reliable analytics system built on trusted data.
Custom metrics in PowerMetrics are dynamic. You control the dimensions, aggregation types, history, and trend indicators from start to finish. Add Goals & Notifications to any metric to track progress and get alerted when something changes. Whether you are connecting a spreadsheet, a database, a warehouse, or a semantic layer, PowerMetrics gives you the structure to build metrics your team can count on.